Supplies you will need:
Castin’ Craft Mold Builder
Paper Clay
Easy Cast Clear Epoxy
Plastic Cups
Plastic Spoons
Pour On Gloss Finish
Sharpie of your color choice (I found that the bright color sharpies gave the best result for the resin gems)
Baking Sheet
Bowls you have at home
Brushes
Pliers
I got most of my supplies at Michael’s Craft Store and the brushes, plastic cups and plastic spoons at my local dollar store.
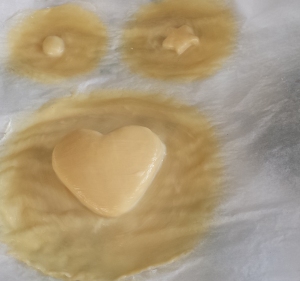
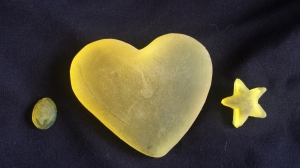
Step 1: I used paper clay because it’s air dry to make any shape you want. I made a star, oval and heart out of clay and let it dry for 24 hours.
Step 2: Spray your dry objects with the spray and once dried, lay them onto baking sheet.
Step 3: Take your brush and put thin layers of the mold builder on the objects. Also brush around the objects too. Each time a layer is dry or almost dry, apply more layers until you feel your mold is thick enough. This may take several hours to complete. (The area around the object does not have to be as big as how I made it)
Step 4: Once it is dry, remove the clay out of the mold.
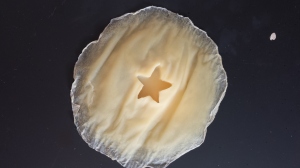
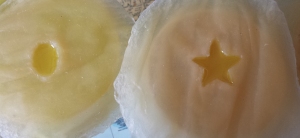
Step 5: The other side won’t look perfect so just use a pair of scissors to cut the unwanted edges of the inside of the mold to look similar to the picture below.
Step 6: Fill one of the plastic cups with water and pour into the mold. This will determine how thick you want your object to be. Mark the cup with permanent marker. Also mark another line half way to your original line.
Step 7: Pour resin into the cup to the half line. Pour the hardener to reach the original line.
Step 8: Remove the ink stick from the sharpie and squeeze with pliers into the cup. I only did 2-3 drops into the cup. Mix well with a plastic spoon.
Step 9: Spray your mold and once dried, pour the resin into the mold.
Step 10: Put your mold in bowls or anything that will keep it leveled. Now wait 24 hours for it to cure.
Step 11: Once dried, the bottom looks nice and shiny while the top is dull. This is where the Pour On Gloss Finish comes in. Simply follow step 6 – 8 (ignore the sharpie for this step).
Step 12: Put the dried objects on bottle caps or anything you can find that will lift it from the level ground. You can now pour on the gloss resin and it will drop off the edges of your objects. For first hour or two, you will continuously need to keep an eye on the object to whip the extra drops from being on your objects.
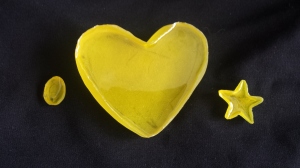
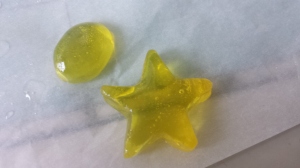
Step 13: This will take up to 24 hours to cure. Once finished, it should look like something below.

